Build DIVA-supported xTitan
From OO Lab
xTitan a.k.a. OracleServer is a regression testing tool based on Capture-Replay technique, written by CA and Javid. For more information, see XTitan.
What we are doing now is to build a special kind of xTitan which extends xTitan itself to gain capability to capture / replay DIVA's executions.
The specific build steps are described as follows:
Build Steps
- Use subversion to checkout DIVA-customized xTitan source code: http://oolab.csie.ncu.edu.tw/svn/oracleserver/branches/branch_xDiva
- Note: You might need to ask our subversion administrator to get you the privilege to access the branch.
- Download and install CMake
- To be simple, choose Binary distributions: Win32 Installer
- To be simple, too, when installing CMake, just click "Next" all the way down, leaving all settings as default
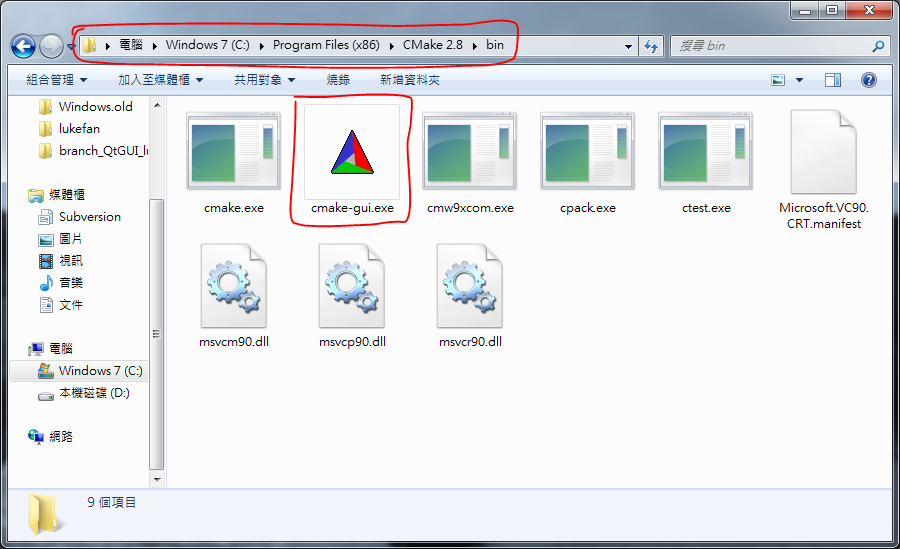
- Open cmake-gui.exe
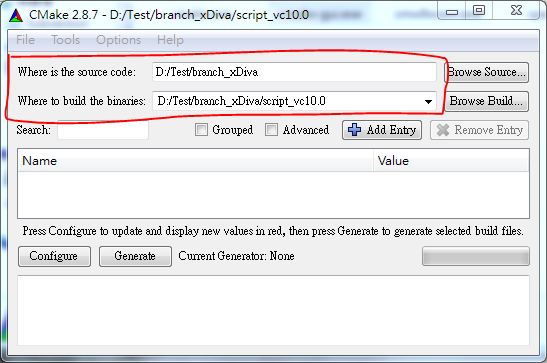
- Fill in the columns below,
- "Where is the source code": The place where you checkout-ed the xTitan branch
- "Where to build the binaries": The folder in which the Visual Studio Solution file will be generated. Could be a not-exist-yet folder since the wizard will help you create it later.
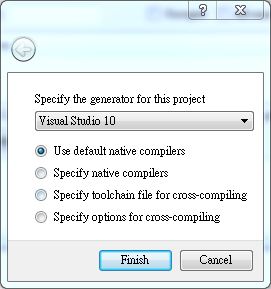
- Click "Configure", follow the screenshot to specify the project generator to "Visual Studio 10" then click "Finish":
- It's recommended that you close any instance of Visual Studio before doing this step.
- It's recommended that you close any instance of Visual Studio before doing this step.
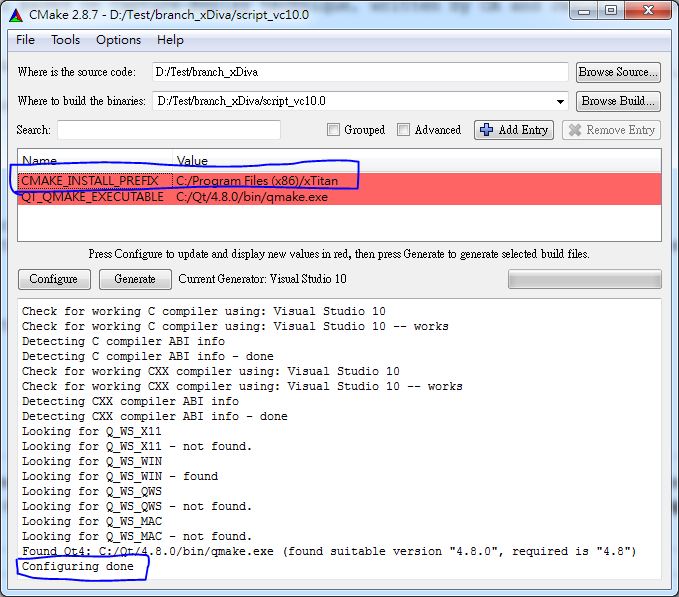
- After a few seconds if you see messages like below, you are half way there!
- If you happen to face error regarding to Qt version problem, check the following two things and re-configure again:
- You have Qt 4.8.0 installed.
- The QT_QMAKE_EXECUTABLE variable is pointed to $(QT 4.8 Directory)/bin/qmake.exe like below(if not, double-click the value and edit it maunally):
- If you happen to face error regarding to Qt version problem, check the following two things and re-configure again:
- Now click "Generate" and wait for a few seconds, the Visual Studio Project Files are generated in the place you just specified!
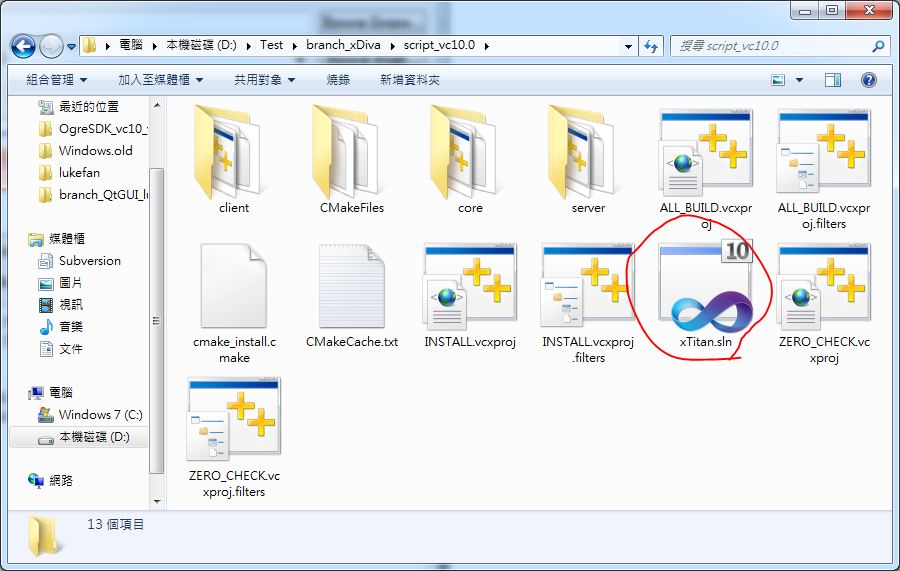
- Open "xTitan.sln" with Visual Studio 2010 in Administrator mode, right-click the "INSTALL" project and select "build"
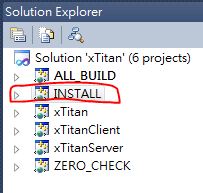
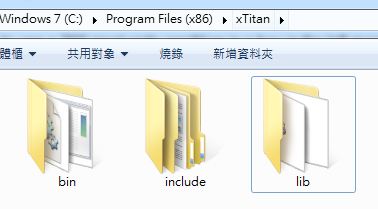
- If anything works fine, the entire xTitan module will be installed to "C:\Program Files (x86)\xTitan" (Or "C:\Program Files\xTitan", depending on your OS version) including:
- Binary files: The xTitanServer executable file and the *.dll files needed by xTitan clients.
- Header files: The *.hpp files needed by xTitan clients.
- Static Library files: The *.lib files.